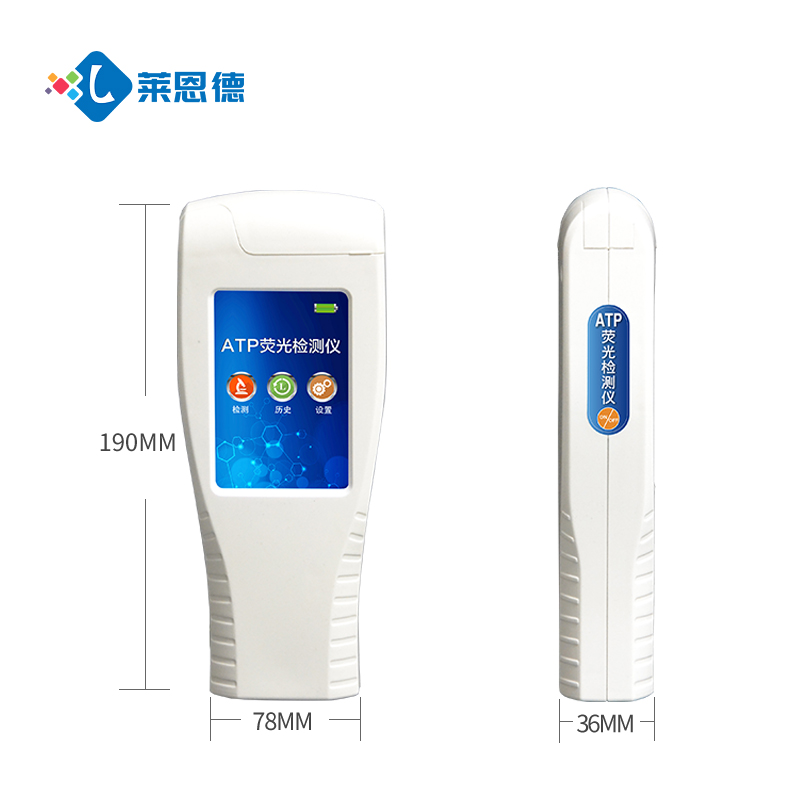
How to Use the Lanende ATP Fluorescence Microbial Detector: A User Guide
The Lanende ATP Fluorescence Microbial Detector is an efficient tool for microbial testing. It rapidly detects microbial contamination and cleanliness levels in samples based on the bioluminescence principle of ATP (Adenosine Triphosphate). Below is the user guide for the Lanende ATP Fluorescence Detector:

I. Preparation
Instrument Check:
Ensure the ATP fluorescence detector is free from physical damage and the battery is sufficiently charged.
Check that all components are securely connected to ensure the instrument is in good working condition.
Reagent Preparation:
Check the expiration date of the luciferase reagent and prepare an appropriate amount according to the instructions.
Reagents should be stored in a dry, cool place, protected from direct sunlight and high temperatures.
Sample Collection Tools:
Prepare sterile swabs or sampling applicators for collecting test samples.
II. Power On and Calibration
Power On:
Press the power button and wait for the instrument to start up and enter the operational state.
Calibration:
Perform necessary calibration operations as required by the instrument manual to ensure the accuracy of detection results.
III. Sample Collection and Processing
Sample Collection:
Use a sterile swab or sampling applicator to wipe the surface to be tested, following the specified wiping area and pressure.
Avoid cross-contamination and ensure the sampling swab remains clean and sterile.
Sample Processing:
Insert the collected sample swab back into its tube and break the valve.
Process the swab as required by the instrument manual, such as squeezing the swab head to release ATP from the sample.
IV. Detection and Reading
Insert Swab:
Insert the processed swab into the reagent chamber of the ATP fluorescence detector.
Initiate Detection:
Select the appropriate detection mode or parameters on the instrument and start the detection process.
Wait for Results:
Wait for the instrument to complete the measurement, which typically takes only a few seconds.
Read Results:
View the detection results on the instrument display, including ATP concentration values and RLU (Relative Light Unit) values.
V. Data Recording and Analysis
Record Data:
Record the detection results in detail, including the test time, sample information, test conditions, and results.
Data Analysis:
Analyze the results scientifically and reasonably based on the actual situation.
Assess the level of microbial contamination in the sample and take appropriate cleaning or disinfection measures.
VI. Precautions
Operational Standards:
Follow standard operating procedures for sample collection, processing, and detection.
Avoid the impact of human error on the detection results.
Instrument Maintenance:
Clean and maintain the instrument regularly to keep it in good working condition.
Avoid exposing the instrument to moisture, heat, or other physical damage.
Reagent Management:
Regularly check the expiration dates of reagents and ensure only reagents within their validity period are used.
Reagents should be stored in the specified environment, protected from direct sunlight and high temperatures.
Safety Precautions:
Wear personal protective equipment, such as gloves and masks, during operation.
Avoid direct contact with samples and reagents to prevent contamination and injury.
By following the steps above, you can correctly use the Lanende ATP Fluorescence Microbial Detector for microbial testing. This instrument offers advantages such as simple operation, rapid detection, and high sensitivity, making it a commonly used tool in fields like food safety and public health.
 PrevWhat are the advantages of soil trace element analyzers? Description of the instrument features of soil trace element analyzers.
 NextGrinding Metal Powders/Ceramics/Soil Samples? A Comprehensive Guide to Materials Suitable for Planetary Ball Mills
Recent Articles
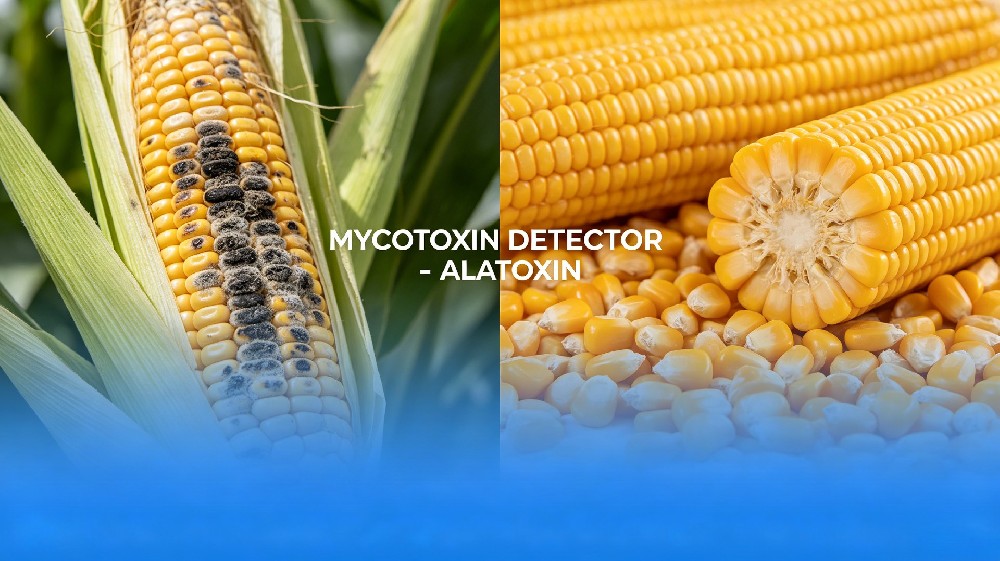
Build a Solid Food Safety Barrier: Causes, Hazards of Aflatoxin Contamination in Corn and Professional Detection Solutions News Report As a major staple food and feed crop worldwide, corn quality safety is closely linked to food security and the healthy d

Rapid & Accurate Mycotoxin Detection: Reliable Colloidal Gold Test Cards Mycotoxins are toxic secondary metabolites produced by toxigenic fungi during crop cultivation, harvesting, transportation and storage. These harmful contaminants widely infiltra

Proving Its Worth! LYND Ranks Among the Top Brands of International Aflatoxin Analyzers for 2026